
Cabinet Cut List: A Worked Example for a Base Unit
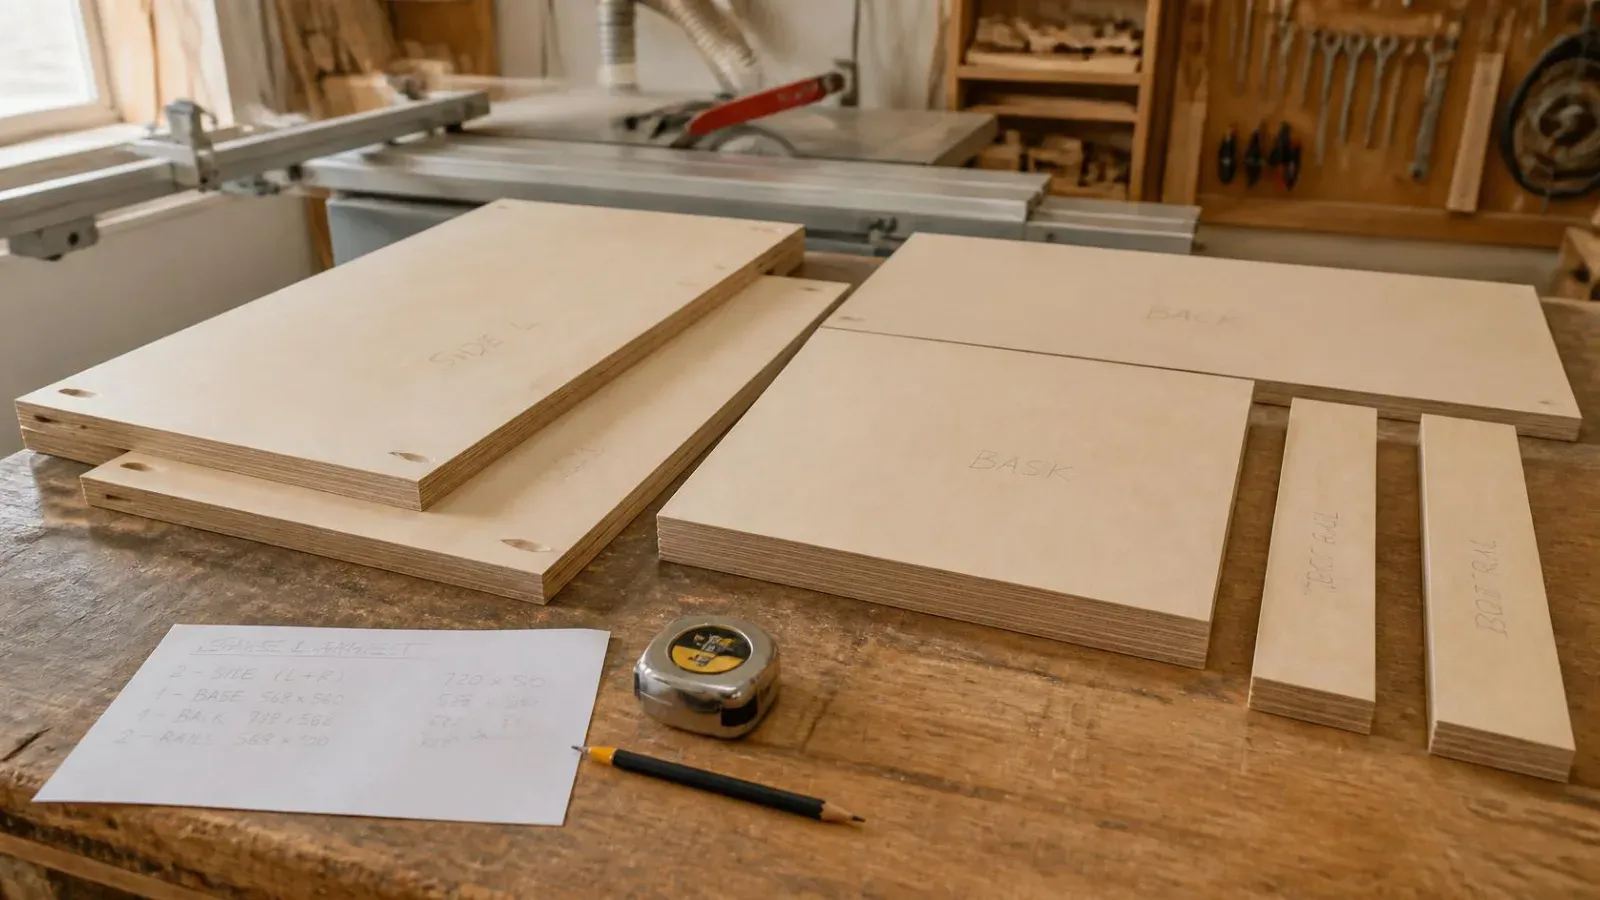
A customer wants three 600mm base units. You know what a base unit looks like, you have built hundreds, and you still end up at the saw wondering whether the base sits between the sides or under them. The cabinet cut list is where that decision gets made once, on paper, instead of three times with a tape measure in your hand.
This post works through one standard base unit from overall size to a finished cut list. Your construction will differ in the details, and that is fine. The method is the same.
What goes on a cabinet cut list?
A cabinet cut list is every part of the cabinet written as a finished size, a quantity, a material and a label, with grain and edge banding marked where they matter. One line per part type, not one line per piece: three units with two sides each is one line reading “Side, 720 × 560, quantity 6”, not six lines.
For a basic frameless base unit in 18mm board, that usually means:
- Sides, two per unit, full height and full depth.
- Base, one per unit, fitted between the sides.
- Rails, two per unit, front and back, also between the sides, holding the worktop.
- Shelf, one per unit, set back from the front edge.
- Door, one per unit, sized to the opening less your gaps.
- Back, usually in thinner board, on its own line because it comes off a different sheet.
How do you work out the part sizes?
Start from the overall size and subtract board thickness wherever one part sits between two others. For a unit 600mm wide, 720mm high and 560mm deep, in 18mm board with the sides running full height:
| Part | Sum | Finished size (mm) | Per unit |
|---|---|---|---|
| Side | full height × full depth | 720 × 560 | 2 |
| Base | 600 − 18 − 18 = 564 wide | 564 × 560 | 1 |
| Rail | same width as the base | 564 × 100 | 2 |
| Shelf | base width, 40mm shallower | 564 × 520 | 1 |
| Door | carcass less your gaps (here 5mm high, 3mm wide) | 715 × 597 | 1 |
Two checks are worth the thirty seconds. First, measure the board you actually have. “18mm” ply is often 17.5mm or 18.3mm, and across two sides that difference ends up in every part that sits between them. Second, write down which way you built it. If the base runs under the sides instead, the sides shrink by 18mm and the base grows by 36mm. Neither way is wrong; mixing them up halfway through is.
Which parts need grain direction and edge banding?
Mark grain on any part where it shows, and edge banding on every edge a customer will see or touch. On this unit, the sides and the door want the grain running vertically, so they cannot be rotated on the sheet. The base, rails and shelf are hidden or close to it, so they can usually turn whichever way fits best. In plain white melamine-faced board, nothing needs grain at all.
Edge banding goes on the front edge of the sides, base and shelf, and all four edges of the door. Mark it on the cut list now rather than at the bander. It is the line people forget when they price the job, and the two and a half metres round every door add up across a kitchen.
How many sheets will a cabinet cut list need?
You cannot tell from the part areas alone, because area ignores layout, kerf and grain. On area, three of these units look like a comfortable two sheets of 2440 × 1220. Lock the grain on the sides and doors, take a 3mm kerf out of every cut, and the answer may well be three. The only way to know is to lay the parts out, by hand or in software.
This is the point where a cut list optimiser earns its keep. You type in the five lines above with quantities for three units, set your sheet size and kerf, and it lays out every part with the grain respected, then tells you how many boards the job takes. If you are pricing the job rather than cutting it, that sheet count is the number your materials line should be built on, and the cabinet quoting software page shows how Cutzilla turns the same cut list into a priced quote.
What mistakes ruin a cabinet cut list?
Most cut list mistakes are not maths errors; they are consistency errors. The common ones:
- Quantity per unit instead of total. “Side × 2” for a three-unit job cuts one unit’s worth.
- Length and width swapped on a grain-sensitive part, so the grain runs across a door.
- Nominal board thickness used in the sums when the board is half a millimetre different.
- The back forgotten because it lives on a different sheet.
- No labels. Twelve pieces of 564mm board look identical on the trolley. Label them by part and unit number before they leave the saw.
For the general method behind all this, including how to lay out a cut list for any project rather than just cabinets, see how to make a cut list.
Try it free. Put your cabinet cut list into Cutzilla and see how many sheets it really needs, in the browser with nothing to install. Start free.